
DIY Window Measurements: A Step-by-Step Guide
DIY Window Measurements: A Step-by-Step Guide
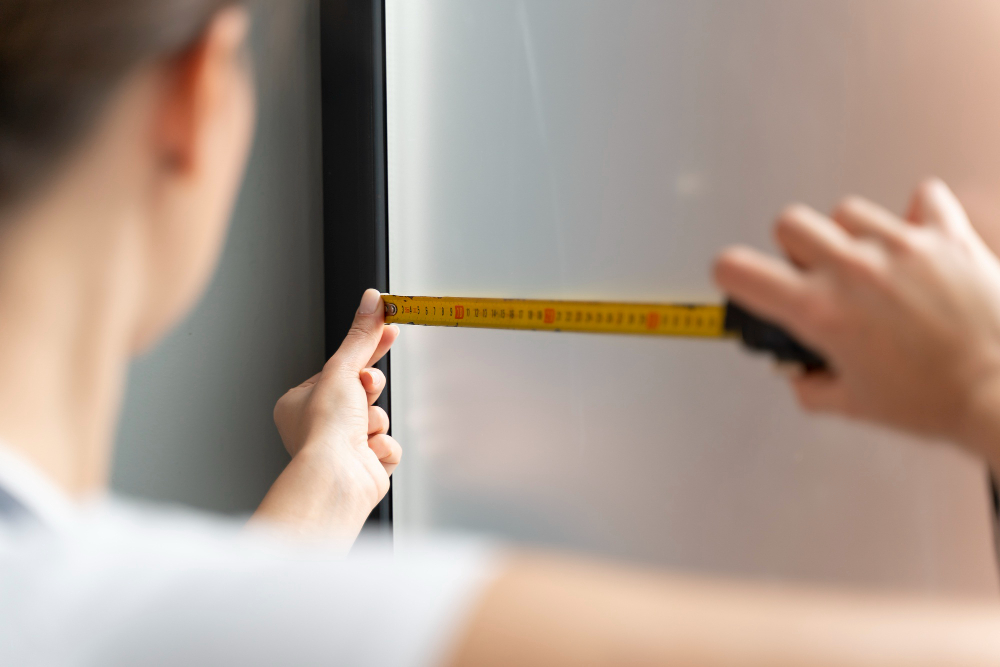
Embarking on a journey to transform your living space with Zebra Blinds or Roller Shades begins with accurate window measurements. While professional assistance is always available, a do-it-yourself approach to measuring windows can be both empowering and practical. In this comprehensive guide, we walk you through the step-by-step process of measuring your windows for optimal fitting. Armed with a metal measuring tape and a keen eye, you’ll gain the confidence to take on this crucial step in the window treatment selection process. Whether you’re considering inside or outside mounts, our guide ensures precision in every measurement.
WINDOW MEASUREMENTS
HOW TO MEASURE FOR BLINDS AND SHADES
- Use a metal measuring tape to take all measurements.
- Take all your measurements at 1/8 of an inch.
- Measure twice to avoid errors.
Inside Mount
How to Measure Your Window:
- Width: Measure in 3 positions (top, middle, bottom), and choose the smallest measurement.
- Height: Measure in 3 positions (left, center, right), and select the largest measurement. No deductions needed.
Outside Mount
- Provide measurements for the space to be covered from left to right (width) and top to bottom (height).
- Include the cassette, valence, headrail, or roller in both width and height measurements.
For Zebra and Roller Blinds
- The cassette, valence, headrail, or roller will match the given width, with fabric shortened about 1/2 an inch on each side.
- Consider ordering slightly wider for outside mounts to ensure complete coverage. For instance, if the space is 50″ wide, order 54″ to cover the entire window frame.
